The Triangular Grid System: How To
By Nick Collins
This article first appeared in Haunted Attraction Magazine
A Power Point Presentation of this Information is Available Here
If you have been Haunting for very long, chances are that you have heard of or even experienced what is known in the industry as the “Triangular Grid System.” This mysterious and sometimes controversial concept has been ridiculed by some Haunters and praised by others. Its intrigue has made it the focus of many seminars, workshops, articles and message boards throughout the industry. But what is this mysterious system? Where did it come from and why should we care?
Triangular Grid
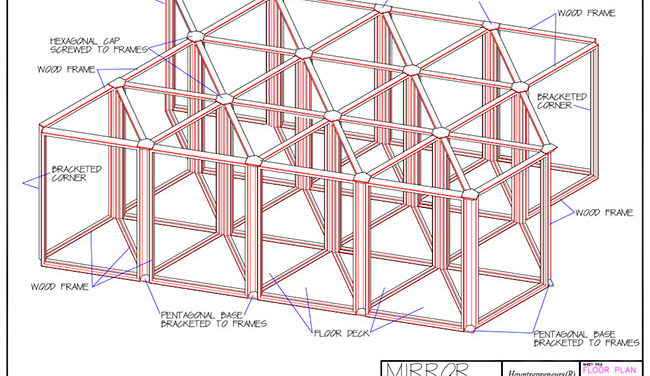
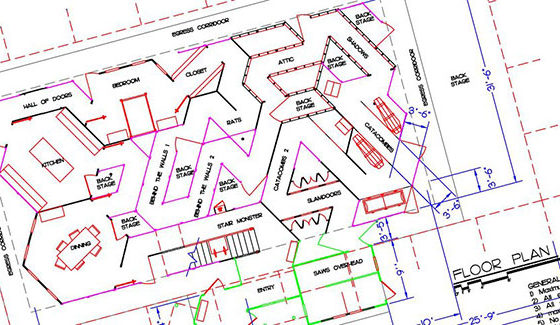
Different from the more traditional square grid corridor layout used by most Haunt designers, where all wall panels connect to each other at right angles (90 degrees), the “triangular grid” uses equilateral triangles as a template for laying out the patron pathway. Nothing more than an alternative layout to Haunted Attraction design, in a triangular grid, wall panels intersect at 120 and 60-degree angles.
The “Triangular Grid System,” on the other hand, is the combination of nominal 2” thick wall panels with built in doors/ windows and scares, angle bracket connectors, 1x bracing in the direction of the grid, and carpet underlayment. Together, these elements create a strong, comprehensive Haunt construction “system” developed over 20 plus years of industry experience.
Although it’s certainly not quantum physics, getting a grasp on how to properly design and execute the “Triangular Grid System” can be a bit confusing, but hopefully article will provide the tools you need to effectively design and install a Triangular Grid attraction.
Grids in Theory
It’s important to note that any type of grid only works “perfectly” on the drawing table, with wall panels as thin as a pencil line. In the real world, wall panels have a thickness that has to be taken into account during the design. For example, if you have grid line drawn on the floor, you have 3 options for wall placement. You can place wall on the left side of the line, the right side of the line or centered directly on top of the line. How other walls butt into this panel will change due to the thickness of the panel, and how it is placed.
Even the thickness of the 2” wall panel gets in the way of its placement on the triangular grid and creates notches and voids in the layout. If this kind of “flaw” bothers you, then the Triangular Grid System may not be for you.
The Grid On Paper
As it would be foolish to begin building a home without a plan, a Haunted Attraction needs to be well planned and drawn out before the first piece of wood is cut. Although it’s exciting to just get in there and start building, every second you spend thoroughly designing on paper will save you valuable time, energy and resources when the walls start going up.
1. Using pencil, paper, eraser and ruler or scale rule, draw a rectangle, which reflects the perimeter of available space for your Haunt.
2. Measure 4’-0” in from each wall to create an “attraction area.” This leaves a perimeter corridor around the attraction for emergency egress and actor substitution.
3. Parallel to the longest direction of your space, draw lines every 3’-6” on center across the attraction area. These denote the “bays” of the grid.(Figure 1)
4. On the first bay line, place a pencil “dot” 2’-0” from the corner of the area. Then make an additional dot every 4’-0” along the bay line. This step is repeated on every other line across the attraction area.
5. On the second bay line and the remaining alternating lines, start with a dot on the edge of the attraction area and continue make an additional dot every 4’-0” along the lines. These dots represent the vertexes of the triangular grid, and should be very close to 4’ apart measured across the bays.
6. Connect the dots in a diagonal direction across the 4’ distance and across the whole attraction area.
Note: You can also buy “isometric” graph paper already divided into triangles.
READ MORE
